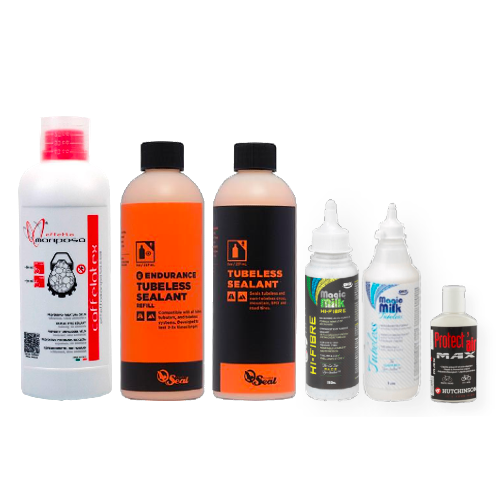
As tubeless systems grow in popularity, there’s an increasing number of sealants on the market. You may find yourself asking: how do I choose one?
While I’ll avoid making any specific brand recommendations here, there are a few pointers that I have to offer. There’s also an introduction to the star rating system used for sealants in the tubelessspares.com web store.
Sealant has two jobs. Firstly, it’s there to fix punctures.
First and foremost it’s there to fix punctures as and when they happen, usually without you having to even stop cycling. Most of the punctures I’ve received with a tubeless system have only become apparent when I’ve inspected the tyre later on – I never even noticed them happen. Sometimes I’ll hear a ‘pssssssss….ssstttt’ noise, followed by silence – which is the sound of the sealant taking a few seconds to seal a puncture. Again, this has usually happened without having to stop or slow down. If it isn’t successful (this is usually down to insufficient levels of sealant inside the tyre) then you can simply fit your spare inner tube, along with a tyre boot if necessary, before continuing with your journey.
Secondly, the sealant is there to help seal the system during the setup.
Early generations of tubeless tyres would seat perfectly well without sealant. The sealant was only there to repair punctures. However there has been a shift by tyre manufacturers over towards using porous rubber for their tyres, meaning a layer of sealant across the inside of the tyre is essential for setting it up from new. This is done by spinning the wheel after you’ve installed the tyre and sealant using an injector. If there are small imperfections in the system that might allow air to escape (such as the join of a non-welded rim), the sealant will do its job here too.
So, how and why do some sealants perform better than others?
Well, it’s a bit like tyres. There’s a scale on which all sealants sit – it’s a bit like picking the correct tyre that suits your riding style. At one end of the scale are fast flowing, extremely long lasting sealants which realistically aren’t very effective when it comes to sealing punctures. At the other end of the scale are thicker, shorter lifespan sealants which are incredibly effective at fixing punctures, even right up to a large rip in a tyre’s sidewall. Some sealant companies make two sealants – one which is at one end of the scale, and one which is nearer the other. However, although they do exist, there aren’t many sealants which come on the first end of the scale and you’re unlikely to ever see a rating of lower than two or three stars on the tubelessspares.com web store.
Knowing how much to use.
Knowing how much to use is personal. Generally speaking 50ml in a road tyre and 80ml in a mountain bike tyre are good guidelines. This means a 250l bottle will contain between three and five wheel’s worth of sealant. A 1L bottle will therefore contain between twelve and twenty wheel’s worth and will usually offer better value for money. Some sealants come in 5L quantities, useful if you run a workshop, bike cafe, a group cycling holiday or other social/group rides.
So, now you’ve got your sealant, it’s time to install it.
Step 1 – Installing the tyre
First you must fit your tyre, just like you would any other clincher tyre, one side at a time. Tubeless tyres tend to be a tighter fit than their non-tubeless counterparts, so expect some resistance. To aid with this, a characteristic feature of a tubeless compatible rim is to have a deep central channel (some narrow and obvious, some wider and more discreet) which effectively reduces the rim’s diameter. If you’re struggling to fit the tyre, make sure the tyre beads sit in this central channel.
Always start opposite the valve and work towards it. Remember, there’s no inner tube to get pinched here. Before you finish fitting the tyre, move onto the next section.
Step 2 – Pouring in the sealant
If this is the first attempt with new components, or if you are nervous about your technique, you should consider skipping ahead and completing a dry setup without sealant. This is because if the system is going to work, in most cases the tyre should seat itself successfully without the sealant. If the tyre does not seat, this is unlikely to be because of the sealant, and in any case it is less messy to go back and rectify issues without sealant getting everywhere.
As a general guide, 50ml is a good amount for road and gravel tyres up to 2” wide. 80ml is recommended for MTB tyres of 2” and above. However, do check with your sealant manufacturer for their recommendations.
There are two methods for pouring in the sealant. They are as follows:
Method 1: Injecting through the valve
Firstly, finish fitting your tyre. If you’re struggling, see the troubleshooting section. Remember the tyre must sit either side of the valve, completely surrounding it, so the air will flowing through it will be directed inside the tyre and not outside it. Then, at its visible end, remove the valve core using either a valve core removal tool. A pair of pliers will do, although these can be quite large and unwieldy for the job, and you risk damaging the valve core this way.
Secondly, draw your sealant into your injector from your bottle.
Thirdly, attach the injector to the open valve by screwing it on, and inject the sealant into the tyre. To reduce spillages, try it with the wheel upright, with the valve positioned away from the ground (i.e. with the valve at the 4 o’clock position).
Finally, re-install the valve core, wipe up any spillages and you’re done.
Method 2: Injecting straight into the tyre while fitting
This is arguably easier and less fiddly than method 1 if you’re doing a setup from scratch with a new tyre. You simply inject the sealant into the open tyre after you have fitted most of it, but before you fit the final section onto the rim. You should also follow this method if you don’t have an injector to hand, by pouring the sealant straight from the bottle. Once you have poured the sealant into the tyre, continue to fit it as normal, being careful not to let any sealant escape in the process. Again, keeping an old towel nearby is crucial.
Then, finish fitting your tyre. If you’re struggling to fit it, check out the troubleshooting guide for tips on making it easier.
Crucial: remember to ensure the valve is surrounded on either side by the tyre, so that air flowing through it will be directed into the tyre and not outside it.
Enjoyed the guide to tubeless sealant? Why not check out my other guides?