The purpose of tubeless rim tape is to cover all holes inside the rim bed, to create an airtight system with the tyre.
Note; if your rims are ‘UST’ (meaning there aren’t any holes in the inner surface of the rim, where the rim tape normally goes), or they have come with a manufacturer specific rim strip, or if they have rim tape fitted already, you do not need tubeless rim tape and can skip this section.
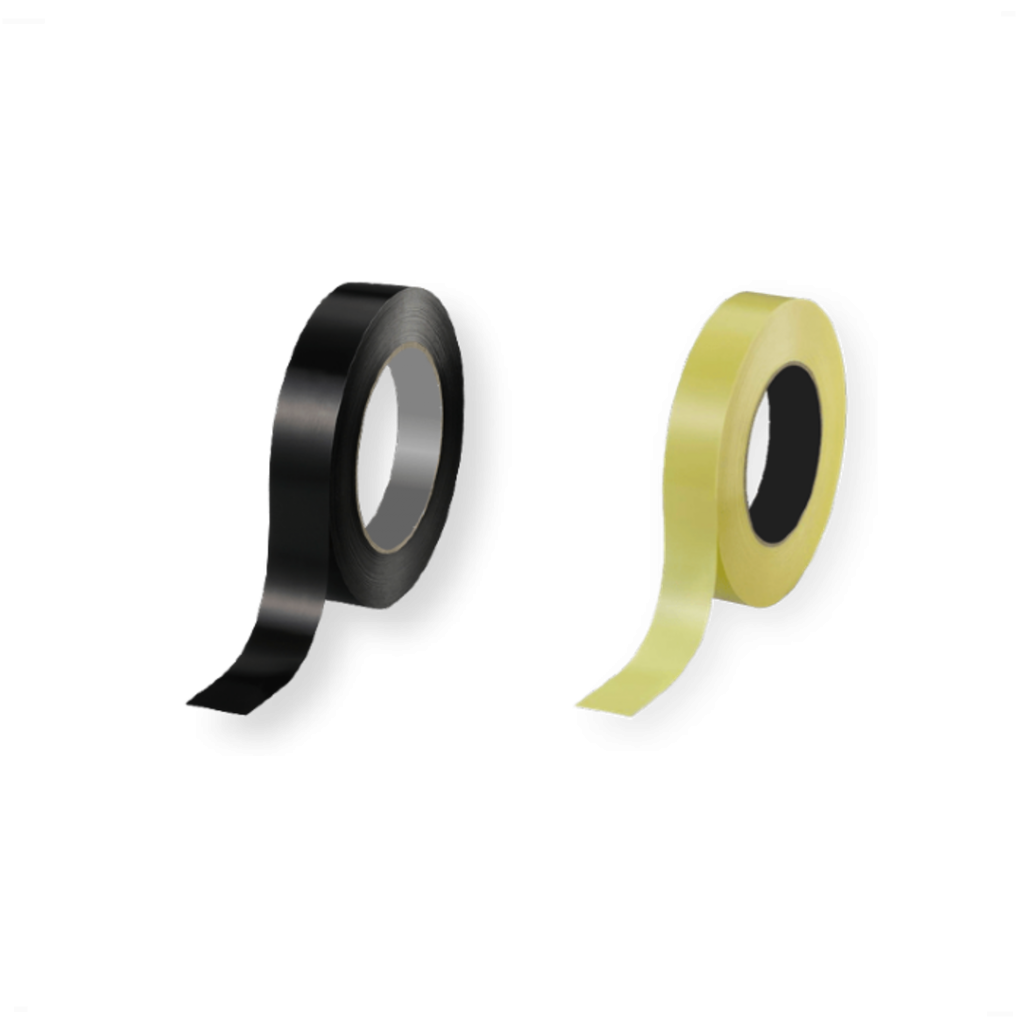
Tubeless rim tape is characterised by: its incredibly thin plastic nature (often around 0.2mm thick), its smooth surface, and its application (from a roll). The tape should be wide enough to reach both sides of the rim, so that the tyre ‘pins it down’ when seated. But not so wide that it rides too high up the sidewalls of the rim, which can prevent the tyre from seating high enough.
There are some exceptions, for example with extremely wide fat bike rims, the tape might not need to reach the entire width of the rim. The extremely low pressures involved with fat bikes (which can be run as low as 4-5 psi) mean that leaks and problems are less likely to occur.
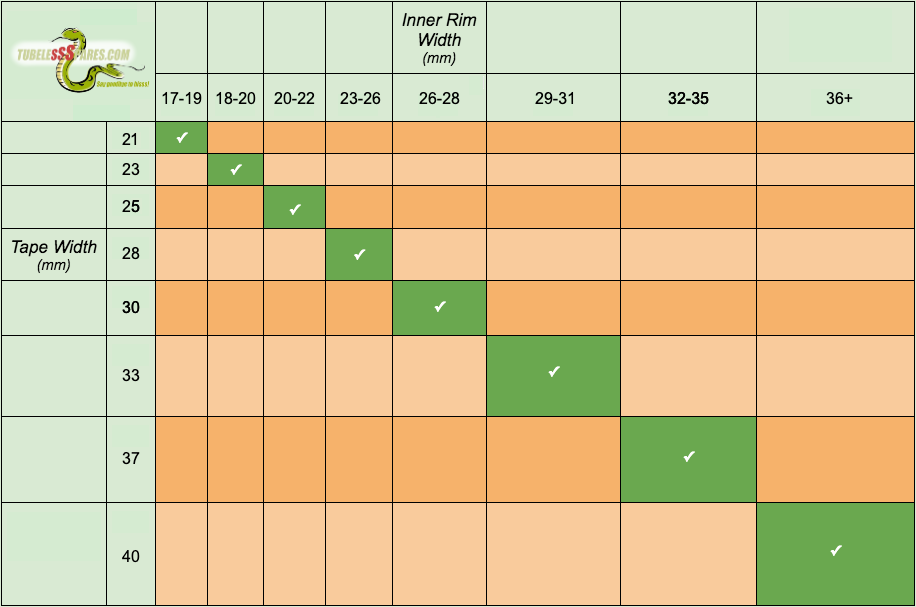
As a general rule, take the inner width measurement of your rim and add two to three millimetres to make up for the ‘well’ in the centre of a tubeless rim.
Step 1 – Starting to apply the tubeless rim tape
And so, onto the applying of the tape. This process gets easier with practise, so if this is your first time, ask for help from someone with experience if you can. However, if you follow the guide closely, you should be able to do it all yourself.
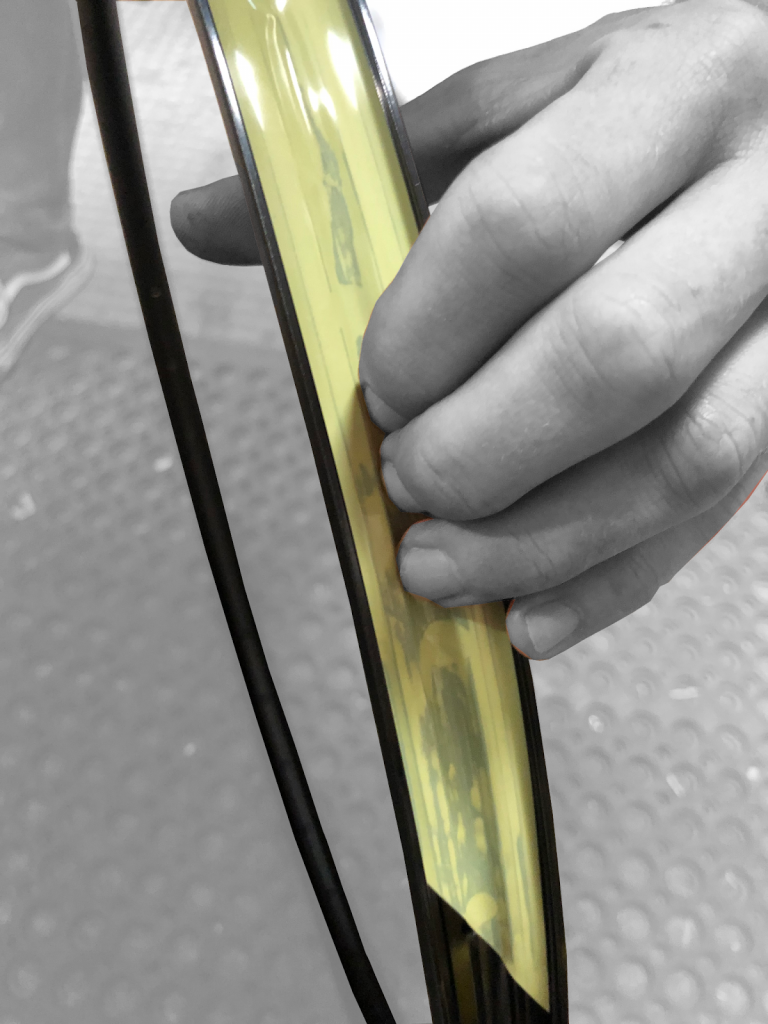
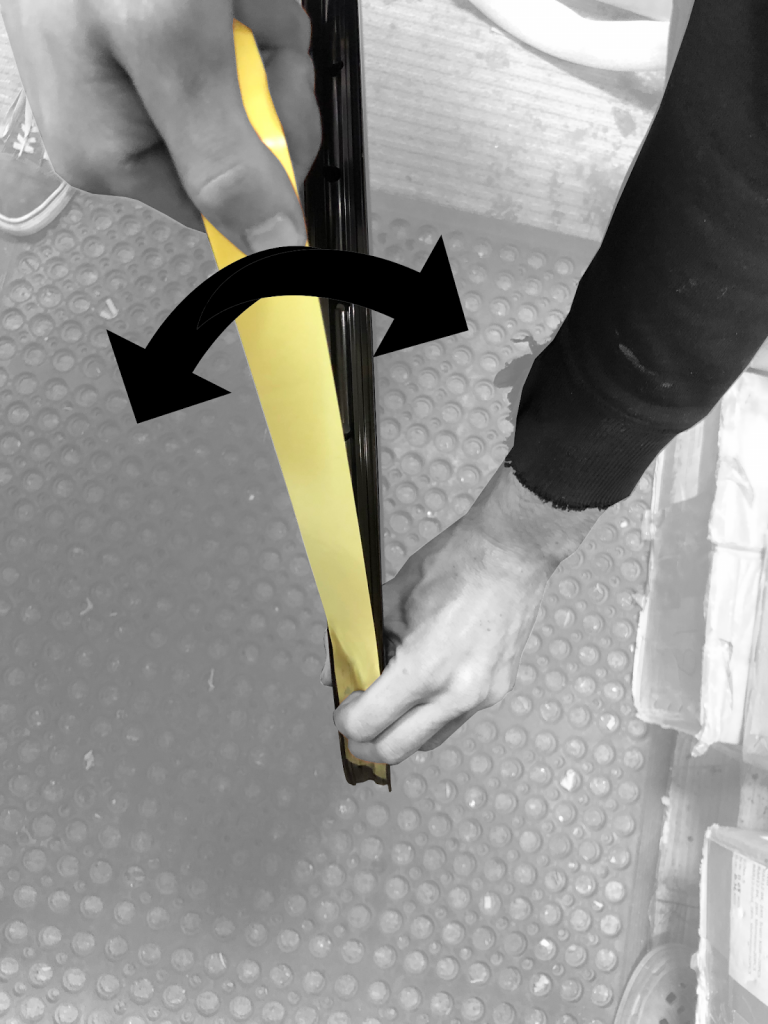
The tubelessspares.com reliable method; first, clean the rim and dry it with a towel or rag. The tape needs to stick well, and be wide enough to be ‘pinned down’ by the tyre. Then, standing over the wheel, hold it to the floor, between your legs. You can use your feet to help hold it secure. Starting with the valve hole positioned at the floor, unroll a few cm of tape from the roll and start applying the tape opposite the valve, as this helps you check your progress. Press the first few cm of tape onto the rim to ensure adhesion, ensuring it fits tightly into the entire surface and minimise the risk of bubbles (see picture).
Step 2 – Make two complete wraps of the wheel
Then, pulling hard to maintain good tension, apply a few inches of tape to the wheel, repeating the process. Rotate the wheel forwards before fitting more tape on. For those of you with rims that have a deep channel in the centre, a little side to side wiggling of the tape will help get it down into the channel (see picture).
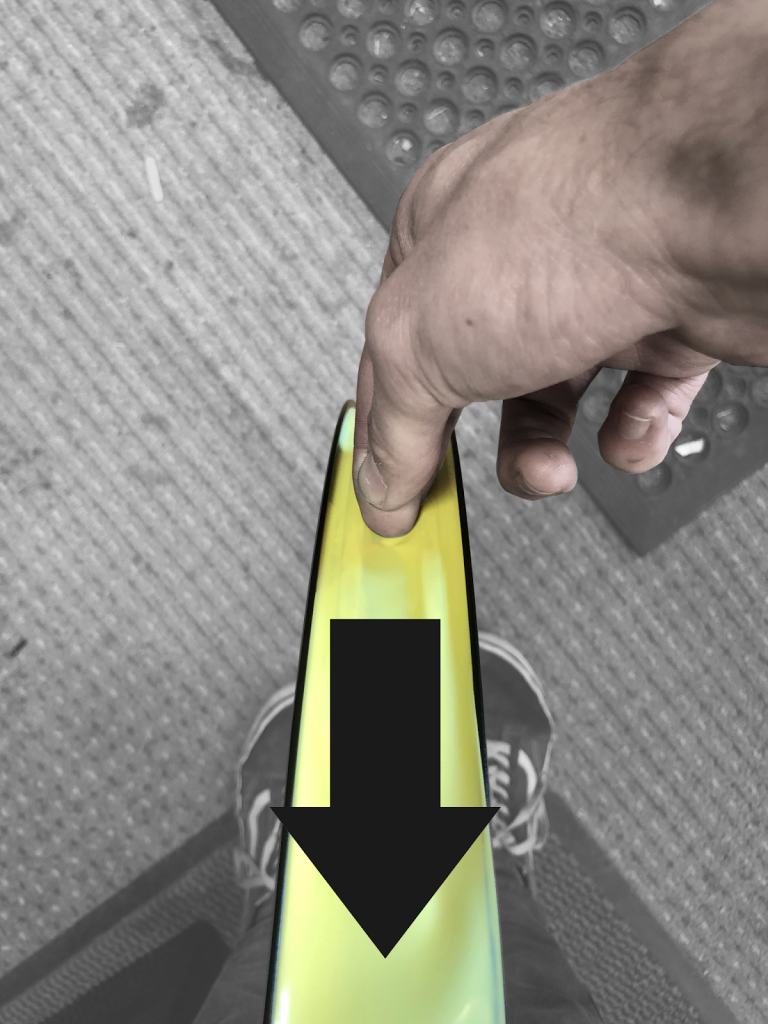
Use your fingernail to press down the remaining tape, sticking it down firmly. Make sure it stays inline with the bottom layer of tape, and doesn’t ride up the edge of the rim, or become unstuck in the central channel (see picture).
Also use your fingers or fingernails to avoid bubbles forming. If bubbles do appear, press them to the edge or chase them round to the end of the tape.
Step 3 – Cutting The Tape
When you’ve completed two complete rotations of the wheel, finish by making a diagonal cut with scissors.
Use your fingernail to press down the remaining tape, sticking it down firmly. Make sure it stays inline with the bottom layer of tape, and doesn’t ride up the edge of the rim, or become unstuck in the central channel (see picture).
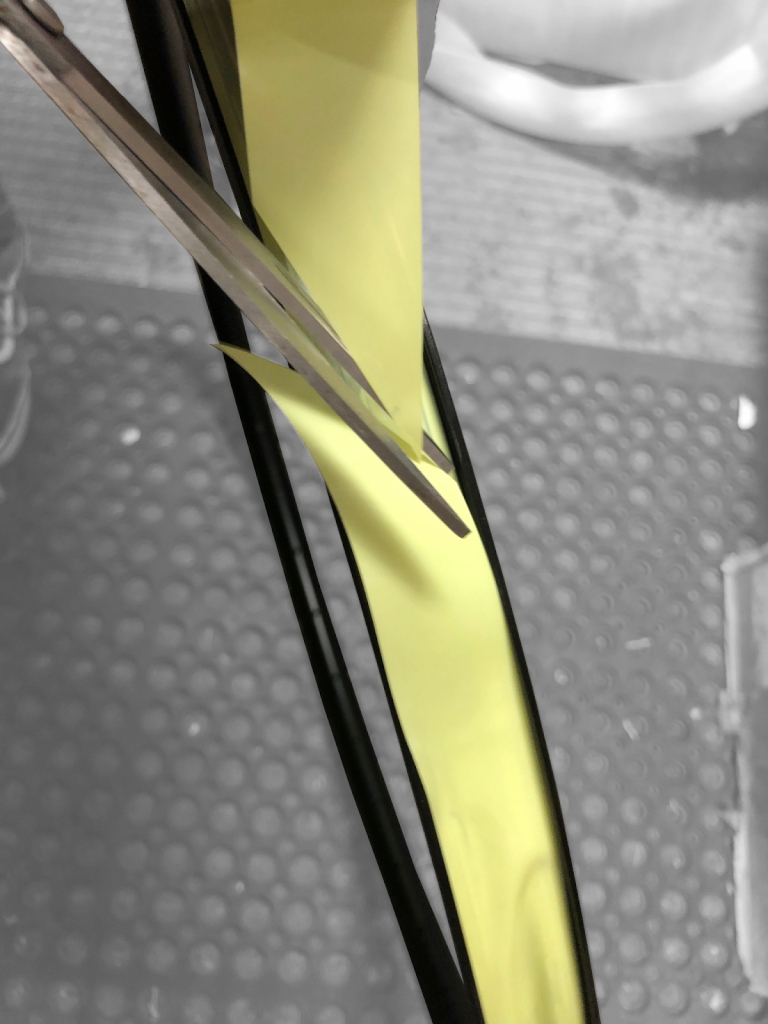
Compare the two pictures below. One is a good, clean diagonal cut which is well aligned and stuck down. The other is an improper straight cut, which won’t stick down in the centre. This will lead to problems as it won’t create an airtight seal.