Whether you’re setting up for the first time, or setting up again, you will need all of the items in this list. Further down, you will find a list of recommended extras.
What is tubeless? I’ll start with the basics:
A tubeless compatible tyre can be set up without an inner tube. On a tubeless compatible rim, special rim tape is applied and a standalone valve fitted, which together make an airtight seal that holds the air pressure. Sealant is also used inside the tyre to automatically seal and mend punctures or imperfections in the system. You will need the following items:
Wheels With Tubeless Compatible Rims

(See full guide) Many factory-produced wheelsets will say if they are tubeless with rim stickers, information on the manufacturer’s website or in a handbook. If your wheels are hand built, check with the wheelbuilder.
A tubeless compatible rim has the characteristic concave ‘well’ in only in the centre. This has a flat, or descending section on either side, often lipped, which makes for a system that has two functions: the first is to make tyre fitting easier by effectively reducing the diameter of the rim while you’re fitting the tyre, and the second is to help encourage the tyre bead to stay at the edges of the rim during inflation/deflation instead of returning to the middle.
If you’re unsure if your rims are tubeless compatible, check out the article; ‘Are My Wheels Tubeless Compatible?’ (opens in a new tab).
Tubeless Compatible Tyres
Look on the tyres – they will usually say on the side, or in the name, if they are tubeless compatible or not. Some companies will have their own name for tubeless like ‘2bliss’, others will be more discreet and say ‘TL’ or ‘TR’, and a few don’t say it at all. Check the manufacturer’s website or packaging for details.

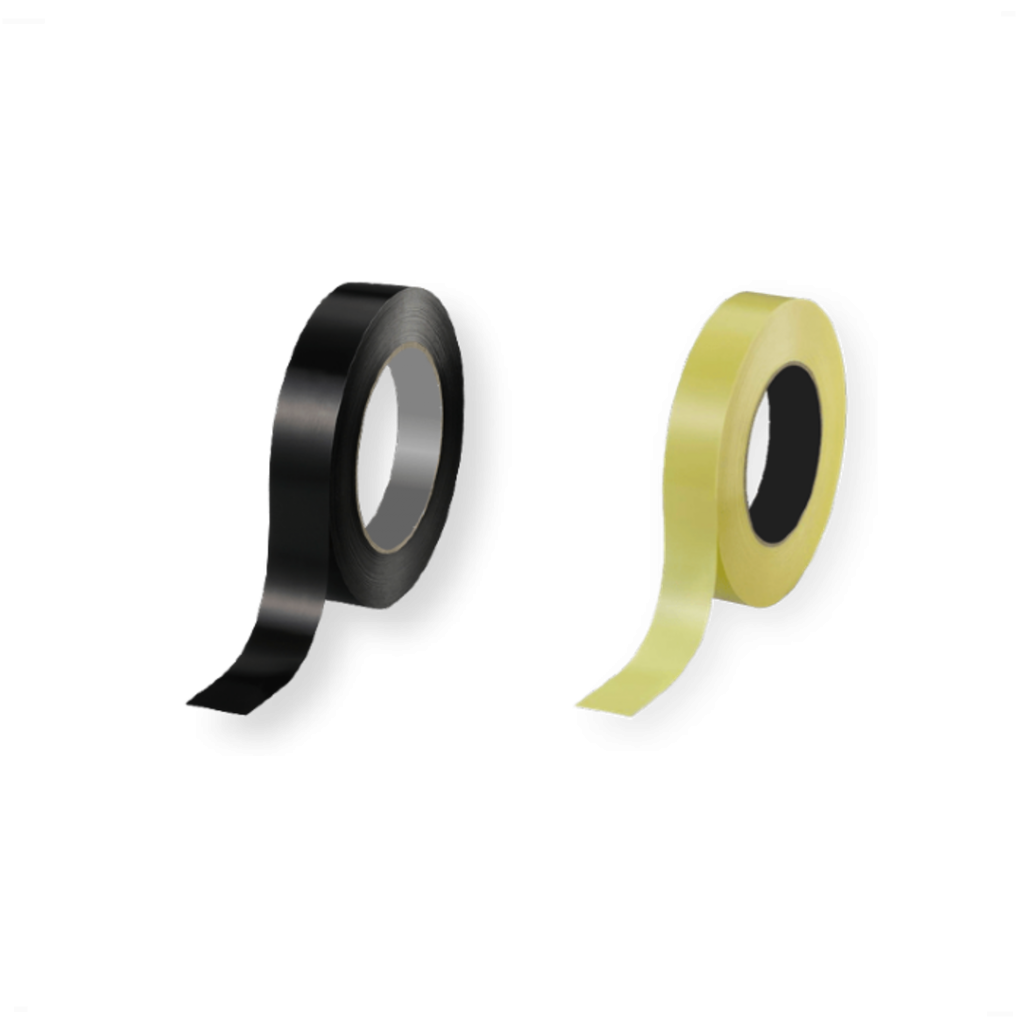
Tubeless Rim Tape, Rim Strip Or UST Rim – Shop Here
(See full guide) Tubeless rim tape is sold on a roll, which is usually enough for at least one pair of wheels. The tape is characterised by its thickness – or rather lack of it – usually being about 0.2mm thick, self-adhesive and made of plastic. Some wheel manufacturers make their own rim strips that are specific to their own rims. In most cases these can be substituted for a generic tubeless tape, however.
If you’re not sure what width tape you need, check the ‘Guide To Rim Tape’ section for a sizing chart. Note: if your rims are ‘UST’, this means they don’t have any holes and you won’t need any rim tape.
Scissors
For cutting the rim tape from the roll when you’ve finished applying it. If you have ‘UST’ rims, or a manufacturer specific tubeless rim strip, you will not need scissors.
Tubeless Valves – Shop Here
(See full guide) These work just the same as they do on an inner tube. The difference here is that tubeless valves have a small rubber bung on the end, which come in various shapes and sizes to suit different rims – some narrow, some wide, some round, some square. Getting a good fit is crucial to creating an airtight seal around the rim’s valve hole. The valves also come with a lockring, usually with a rubber o-ring which fits snugly inside which helps avoid damage to the rim.
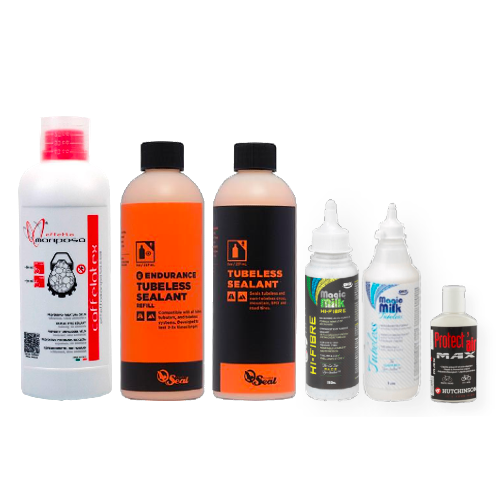
Tubeless Sealant – Shop Here
(See full guide) Sealant is a critical part of the day-to-day running of the system and it is strongly recommended that you don’t ride without it. There has been a switch towards using porous material for tubeless tyres – meaning your tyres aren’t completely airtight by themselves. This means they rely on a layer of sealant on the inside of the tyre to actually remain airtight.
The sealant will also allow you to carry on riding when the tyre is punctured (although not 100% guaranteed, a well maintained system should reduce the number of punctures and roadside repairs quite dramatically). It will also help seal any imperfections in the system and therefore make the setup easier, if a little messier.
Good Tyre Levers – Shop Here
Generally speaking, tubeless tyres and rims are a tighter fit than their non-tubeless counterparts. If you’re tempted to use tyre levers to fit the tyre on, be careful not to damage the tape as this could compromise the airtight seal. Look for strong, wide and thin tyre levers made of plastic, not metal, to avoid damage to the rim or the tyre.
Bicycle pump, compressor or C02 cartridge
(See full guide to inflating a tubeless tyre) Although some tubeless tyres can be inflated with a handpump, this is not always the case. A decent upright track pump will work with most setups – even if it does induce a lung-busting effort – however a product which delivers a rush of air in one go is preferable. There are various products on the market which can be charged with a regular pump and then released to give the ‘rush’ of air that is needed to seat the tyre. Some pump heads (such as the Topeak Tubihead) make the setup even easier.
A compressor, if you are lucky enough to own one, will certainly make for the easiest setup, although they are by no means necessary. Note: not all sealants are compatible with CO2 cartridges – check with the manufacturer.
Recommended Extras:
So we’ve covered the essentials. In my experience it’s a good idea to keep the following items handy:
Tweezers and a needle file
These are useful for cleaning up the valve hole after you’ve cut the tape. This part of the setup is much more important than it may seem and should not be overlooked. A poorly prepared valve hole will most likely lead to failure to gain an airtight seal, and with carbon rims can even lead to catastrophic failure as the rim becomes pressurised and explodes. Proper preparation and a clean cut in the tape around the valve hole will ensure this doesn’t happen.
Scalpel or sharp, pointy blade
This is also for preparing the valve hole once you’ve applied the rim tape. If your rim tape is already in place, or your rims come with a manufacturer specific rim strip, you will not need a scalpel.
As always, take care when handling a sharp blade.
Sealant Injector – Shop Here
Although not completely necessary, it is strongly recommended that you use an injector to get your sealant inside the tyre. These work (and look like) a giant syringe. Using one will make the job a lot easier and less messy, as well as allowing you to measure exactly how much sealant you’re putting in, saving you money and avoiding waste. A few manufacturers sell them and they are all very similar. The tubelessspares.com injector features a machined metal head which screws directly onto the valve to avoid spills and reduces cleanup.
Click here to see the injector and other accessories.
An Old Towel Or Rags
For obvious reasons; it’s a messy process.
Valve Core Removal Tool
Having done as many tubeless setups as I have, I wouldn’t be without this tool. During awkward setups it can be helpful to allowing seat the tyre without the valve core in place (this allows a faster rush of air into the tyre). Later on, this tool also allows you to check through the valve how much sealant you have left, a simple check which I recommend doing roughly once every four weeks.
Look out for valves which come with small tools included in the dust cap, although there are also relatively inexpensive tools available. Some pump heads (such as the Topeak Tubihead) allow you to remove the valve core, inflate the tyre and replace the core without losing any pressure. This can save a lot of effort, aggrievance and time although they are prone to breaking if not used correctly.