If you’re new to tubeless, you might experience some problems you’ve not come across before. Use this section to troubleshoot and get back out there.
From leaky sealant to tyres that won’t inflate, loose valve cores and damaged rim tape, my tubeless troubleshooting guide will help you identify the cause of a problem and help you fix it.
| Problem | Solutions |
| The tyre is too tight to fit | Try manoeuvring the tyre bead into the central channel of the rim, as this has a smaller diameter than the rest of the rim. Also try starting opposite the valve, working towards it, fitting the final (most difficult) part of the tyre exactly at the valve. You can also consider using your plastic tyre levers. In the world of inner tubes, this was always a big no-no, as the inner tube could get pinched and punctured. With no inner tubes, there’s no risk of this happening. However I recommend exercising caution, as you can still damage some rims this way by denting or bending the sidewalls which might compromise the airtight seal between the rim and the tyre. |
| The tyre doesn’t inflate or seat itself into the bead | In more detail, this means there isn’t enough air flowing with enough force to move the tyre out of the central section of the rim and into the bead. First, check back through all the sections of the setup guide to make sure you haven’t missed any steps or details. Check the valve is tight and is providing an airtight seal between itself and the rim, and that the rim tape is intact and stuck down. Try removing the inner valve core and inflating the tyre without it. This gives the air a much larger tube to flow down and won’t be restricted by a dirty, blocked or slow releasing core. This problem can be caused by a number of factors, listed below: |
| The tyre fits too loosely and allows air to escape | This is about tolerance. Some tyres will be loose on some rims and tight on others – it’s about the relationship between the two. Although this problem does happen with some new tyres, this is more common with old tyres that have been set up and ridden before as they will have stretched and lost their tight tolerance. Try adding more layers of rim tape or replacing the old tape entirely, always carefully cleaning beforehand, to ensure the new tape sticks well. One tubelessspares.com ‘pro tip’ is to add an extra layer of tape that you don’t press fully into the ‘well’ of the rim, instead allowing it to bridge the gap. This will effectively raise that part of the rim and create a tighter fit between the tape and the loose tyre. A second tubelessspares.com ‘pro tip’ is to seat the tyre by inflating it as usual with an inner tube. Then, deflate the inner tube and unseat one side of the tyre, taking care to keep one side of the tyre seated properly while you remove the other side and take out the inner tube. If successful, having one side of the tyre already seated will help the rest of the tyre seat by providing an intact seal on one side. |
| The tyre fits snugly and no air is escaping; but the tyre still won’t jump into the bead | Try removing the inner valve core and inflating the tyre without it. This gives the air a much larger tube to flow down and won’t be restricted by a dirty, blocked or slow releasing core. If this works, be careful when removing the pump head as the air will all come rushing out through the valve. Before you remove the pump head, have your valve core in your other hand, ready to quickly insert it back into place. If you are lucky, the tyre will remain seated even after it has depressurised, and you can simply pump it up as usual. With a bit of practise it is possible to re-fit the valve core before all the pressure has been lost. This will help prevent the tyre from popping back out of the bead during the depressurisation. Some pump heads (such as the Topeak Tubihead) will allow you to remove the core, inflate the tyre and replace the core without losing any pressure – this is an ideal product which works very well and is available as an upgrade to your existing floor pump. |
| The tyre seats itself into the bead, but still loses pressure quickly | Check the condition of the rim tape for impairments (see my guide for tips). Check the valve is tight by pressing the head into the rim, while tightening the lockring by hand. Ensure the rubber o-ring, if supplied, is allowing for a tight fit and isn’t getting in the way – on some asymmetric/offset rims the lockring might not sit very well underneath the lockring. This won’t usually result in the setup not working but does need to be checked to ensure the best possible fit. |
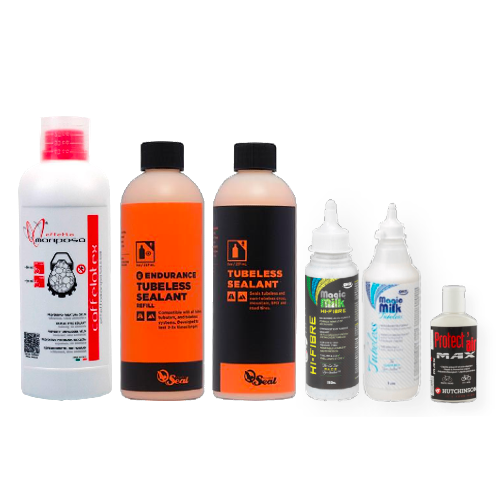
| The tyre seats itself into the bead, but still loses pressure audibly slowly/over time | There is a leak in the system somewhere. Try locating it by ear to see if air is leaking out from between the tyre and the rim, from around the valve, or through the spoke holes in the rim, and check the corresponding steps below. If you have put in tubeless sealant, try spinning the wheel for a few minutes (ride it, if you can) to try and spread the sealant around the tyre. If you can locate the leak, try bouncing the wheel on the ground at that point – this will help the sealant spread to where it is needed and seal any gaps. |
| Air is leaking from between the tyre and the rim | Check that the tyre has seated itself all the way around. It often pops into place quite audibly, although you should be able to see if any sections are sitting lower or wonky. Remember to check both sides of the tyre. If the tyre hasn’t yet seated fully, keep pumping to increase the pressure until it does. You may need to take it high above the pressure you would ride at – this is common practice whether you’re running tubeless or inner tubes (be careful, see the warning below). Some lubrication can help the tyre move into the bead if friction is preventing it from doing so. Try pouring or squirting some water mixed with washing up liquid onto the affected area. WARNING: you should not increase the air pressure to above the tyre or rim’s safe operating limit. This is usually written on the side of the tyre or in the rim manufacturer’s information (although most rims are fine). The site disclaimer can be found here. |
| Air is leaking from around the valve | Check the valve is tight by pressing the head firmly into the rim, while tightening the lockring by hand. Ensure the rubber o-ring, if supplied, is allowing for a tight fit and isn’t getting in the way – on some asymmetric/offset rims the lockring might not sit very well underneath the lockring. This won’t usually result in the setup not working but does need to be checked to ensure the best possible fit. Check the step-by-step guide to fitting a valve. Valves are available with different rubber bungs/heads to fit a variety of rim shapes and profiles. If your valves aren’t sealing well into the rim, try replacing the rubber bung or changing valves to one with a different size/shape. |
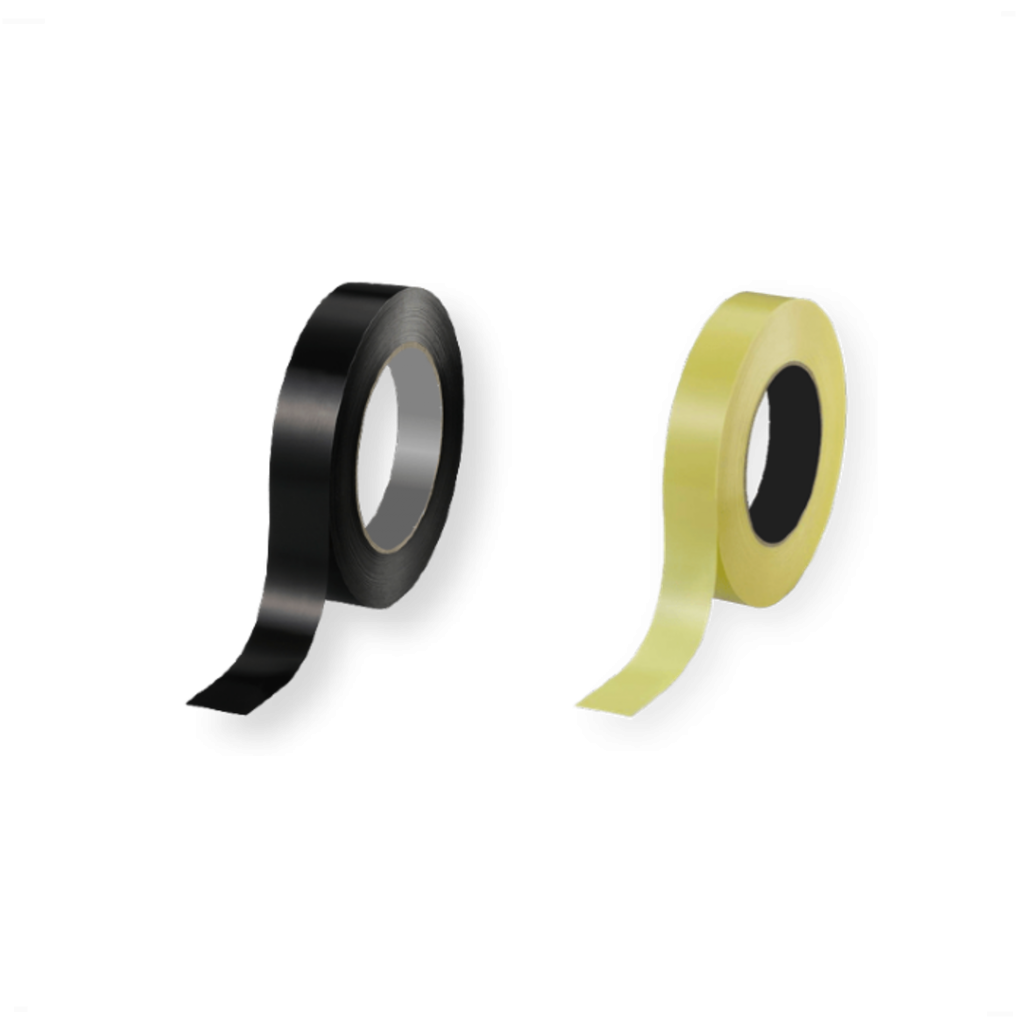
| Air is leaking from the spoke holes in the rim | Check the rim taping guide in my Step-By-Step setup. Check that your rim tape (or supplied rim strip) is of sufficient width to reach from one side of the rim to the other. If not, use wider tape or add more layers to make up the distance. The rim tape should be pinned down by the tyre. Now, check that the tape is stuck down. If the rim was wet or dirty when the tape was applied, it won’t have stuck properly and it might move around, compromising any airtight seal. Check the valve too, and follow my guide on how to prepare the tape around the valve hole and install the valve effectively for an airtight fit. |
| Air is leaking from the join in the rim | Not all rims are welded together at the join. Some are glued or pinned. On an initial setup, air can leak from this joint and require sealant to provide the airtight system. This isn’t uncommon and is usually nothing to worry about; if the problem persists then consult your retailer or wheelbuilder. |
| Your tyre has punctured, it’s lost its pressure and you can’t get it to re-seat | Note: stopping because of a puncture is far less likely with a well maintained tubeless setup than with inner tubes. Remember to top up your sealant regularly and use a good sealant that’s capable of fixing a wide range of punctures. Check out tubelessspares.com for sealant recommendations. If a tyre has punctured and won’t seal, it’s usually because either the sealant is empty or dried up, the tyre has worn out, or the puncture is too large for the sealant to heal. If you’ve suffered a puncture and can’t get a tyre to inflate, you’re in no worse a situation than if you had punctured while using an inner tube (alright, perhaps slightly messier, if sealant has spilled out). The simplest solution is therefore the same – simply remove any debris from your tyre, install your spare inner tube and carry on your journey, fixing the tyre at a more convenient time (in the warm and dry). If your tyre is badly damaged, slashed or ripped, it may be necessary to use a tyre boot to prevent the inner tube from bursting out the hole. Specially made products work well and are well worth carrying in case of emergency, and a makeshift tyre boot can often be fashioned from something handy – a plastic five pound note for example. |
| Repairing a punctured tyre | You can have a go at repairing the tyre with products that are designed to plug large holes in tyres. There are various products available, although some are a lot more successful than others. Your success is likely to be based on experience and technique, so if it’s your first time repairing a punctured tyre, try doing it at home first. The author has also had repeated success in repairing badly punctured tyres by using puncture patches designed for repairing inner tubes. These rely on having a clean surface to stick to, so make sure you clean the tyre very well around the damaged area. Pre-glued patches are convenient but you can also use traditional patches and their vulcanising solution. |
| Problem | Solutions |
| The tyre is too tight to fit | Try manoeuvring the tyre bead into the central channel of the rim, as this has a smaller diameter than the rest of the rim. Also try starting opposite the valve, working towards it, fitting the final (most difficult) part of the tyre exactly at the valve. You can also consider using your plastic tyre levers. In the world of inner tubes, this was always a big no-no, as the inner tube could get pinched and punctured. With no inner tubes, there’s no risk of this happening. However I recommend exercising caution, as you can still damage some rims this way by denting or bending the sidewalls which might compromise the airtight seal between the rim and the tyre. |
| The tyre doesn’t inflate or seat itself into the bead | In more detail, this means there isn’t enough air flowing with enough force to move the tyre out of the central section of the rim and into the bead. First, check back through all the sections of the setup guide to make sure you haven’t missed any steps or details. Check the valve is tight and is providing an airtight seal between itself and the rim, and that the rim tape is intact and stuck down. Try removing the inner valve core and inflating the tyre without it. This gives the air a much larger tube to flow down and won’t be restricted by a dirty, blocked or slow releasing core. This problem can be caused by a number of factors, listed below: |
| The tyre fits too loosely and allows air to escape | This is about tolerance. Some tyres will be loose on some rims and tight on others – it’s about the relationship between the two. Although this problem does happen with some new tyres, this is more common with old tyres that have been set up and ridden before as they will have stretched and lost their tight tolerance. Try adding more layers of rim tape or replacing the old tape entirely, always carefully cleaning beforehand, to ensure the new tape sticks well. One tubelessspares.com ‘pro tip’ is to add an extra layer of tape that you don’t press fully into the ‘well’ of the rim, instead allowing it to bridge the gap. This will effectively raise that part of the rim and create a tighter fit between the tape and the loose tyre. A second tubelessspares.com ‘pro tip’ is to seat the tyre by inflating it as usual with an inner tube. Then, deflate the inner tube and unseat one side of the tyre, taking care to keep one side of the tyre seated properly while you remove the other side and take out the inner tube. If successful, having one side of the tyre already seated will help the rest of the tyre seat by providing an intact seal on one side. |
| The tyre fits snugly and no air is escaping; but the tyre still won’t jump into the bead | Try removing the inner valve core and inflating the tyre without it. This gives the air a much larger tube to flow down and won’t be restricted by a dirty, blocked or slow releasing core. If this works, be careful when removing the pump head as the air will all come rushing out through the valve. Before you remove the pump head, have your valve core in your other hand, ready to quickly insert it back into place. If you are lucky, the tyre will remain seated even after it has depressurised, and you can simply pump it up as usual. With a bit of practise it is possible to re-fit the valve core before all the pressure has been lost. This will help prevent the tyre from popping back out of the bead during the depressurisation. Some pump heads (such as the Topeak Tubihead) will allow you to remove the core, inflate the tyre and replace the core without losing any pressure – this is an ideal product which works very well and is available as an upgrade to your existing floor pump. |
| The tyre seats itself into the bead, but still loses pressure quickly | Check the condition of the rim tape for impairments (see my guide for tips). Check the valve is tight by pressing the head into the rim, while tightening the lockring by hand. Ensure the rubber o-ring, if supplied, is allowing for a tight fit and isn’t getting in the way – on some asymmetric/offset rims the lockring might not sit very well underneath the lockring. This won’t usually result in the setup not working but does need to be checked to ensure the best possible fit. |
| The tyre seats itself into the bead, but still loses pressure audibly slowly/over time | There is a leak in the system somewhere. Try locating it by ear to see if air is leaking out from between the tyre and the rim, from around the valve, or through the spoke holes in the rim, and check the corresponding steps below. If you have put in tubeless sealant, try spinning the wheel for a few minutes (ride it, if you can) to try and spread the sealant around the tyre. If you can locate the leak, try bouncing the wheel on the ground at that point – this will help the sealant spread to where it is needed and seal any gaps. |
| Air is leaking from between the tyre and the rim | Check that the tyre has seated itself all the way around. It often pops into place quite audibly, although you should be able to see if any sections are sitting lower or wonky. Remember to check both sides of the tyre. If the tyre hasn’t yet seated fully, keep pumping to increase the pressure until it does. You may need to take it high above the pressure you would ride at – this is common practice whether you’re running tubeless or inner tubes (be careful, see the warning below). Some lubrication can help the tyre move into the bead if friction is preventing it from doing so. Try pouring or squirting some water mixed with washing up liquid onto the affected area. WARNING: you should not increase the air pressure to above the tyre or rim’s safe operating limit. This is usually written on the side of the tyre or in the rim manufacturer’s information (although most rims are fine). The site disclaimer can be found here. |
| Air is leaking from around the valve | Check the valve is tight by pressing the head firmly into the rim, while tightening the lockring by hand. Ensure the rubber o-ring, if supplied, is allowing for a tight fit and isn’t getting in the way – on some asymmetric/offset rims the lockring might not sit very well underneath the lockring. This won’t usually result in the setup not working but does need to be checked to ensure the best possible fit. Check the step-by-step guide to fitting a valve. Valves are available with different rubber bungs/heads to fit a variety of rim shapes and profiles. If your valves aren’t sealing well into the rim, try replacing the rubber bung or changing valves to one with a different size/shape. |
| Air is leaking from the spoke holes in the rim | Check the rim taping guide in my Step-By-Step setup. Check that your rim tape (or supplied rim strip) is of sufficient width to reach from one side of the rim to the other. If not, use wider tape or add more layers to make up the distance. The rim tape should be pinned down by the tyre. Now, check that the tape is stuck down. If the rim was wet or dirty when the tape was applied, it won’t have stuck properly and it might move around, compromising any airtight seal. Check the valve too, and follow my guide on how to prepare the tape around the valve hole and install the valve effectively for an airtight fit. |
| Air is leaking from the join in the rim | Not all rims are welded together at the join. Some are glued or pinned. On an initial setup, air can leak from this joint and require sealant to provide the airtight system. This isn’t uncommon and is usually nothing to worry about; if the problem persists then consult your retailer or wheelbuilder. |
| Your tyre has punctured, it’s lost its pressure and you can’t get it to re-seat | Note: stopping because of a puncture is far less likely with a well maintained tubeless setup than with inner tubes. Remember to top up your sealant regularly and use a good sealant that’s capable of fixing a wide range of punctures. Check out tubelessspares.com for sealant recommendations. If a tyre has punctured and won’t seal, it’s usually because either the sealant is empty or dried up, the tyre has worn out, or the puncture is too large for the sealant to heal. If you’ve suffered a puncture and can’t get a tyre to inflate, you’re in no worse a situation than if you had punctured while using an inner tube (alright, perhaps slightly messier, if sealant has spilled out). The simplest solution is therefore the same – simply remove any debris from your tyre, install your spare inner tube and carry on your journey, fixing the tyre at a more convenient time (in the warm and dry). If your tyre is badly damaged, slashed or ripped, it may be necessary to use a tyre boot to prevent the inner tube from bursting out the hole. Specially made products work well and are well worth carrying in case of emergency, and a makeshift tyre boot can often be fashioned from something handy – a plastic five pound note for example. |
| Repairing a punctured tyre | You can have a go at repairing the tyre with products that are designed to plug large holes in tyres. There are various products available, although some are a lot more successful than others. Your success is likely to be based on experience and technique, so if it’s your first time repairing a punctured tyre, try doing it at home first. The author has also had repeated success in repairing badly punctured tyres by using puncture patches designed for repairing inner tubes. These rely on having a clean surface to stick to, so make sure you clean the tyre very well around the damaged area. Pre-glued patches are convenient but you can also use traditional patches and their vulcanising solution. |
Enjoyed my tubeless troubleshooting guide? Why not check out my other guides?